How to Make a Snowflake!
This is a fun project, that can be educational, too. Shhhhh!
Don't mention that!  Just have fun!

Some of the items needed are not necessary to make a snowflake. We'll
let you know where you can improvise.
|
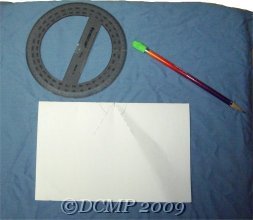
Materials |
Purpose |
| Paper, Construction Paper, Tissue Paper, etc. |
To make snowflake :) If you are out of paper in your
home, try using a newspaper, wrapping paper, etc. |
| Scissors |
Safety scissors are best. You could tare the paper, if
you can't find your scissors. |
| Pencil |
Not a must have. The pencil is used to draw the lines
for the folds. Pen, crayon, chalk, etc., may be used also. |
| Protractor |
Not a must have. Good to make the angles precise.
Also, fun to learn to use. |
| Plate |
Not a must have. Good to make arch nicely.
Better to use a plate that does not have ridges. |
INSTRUCTIONS
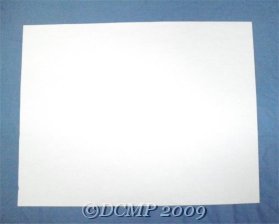 |
Take a piece of paper. The piece used for
this example is regular 8.5" x 11" plain white computer paper. |
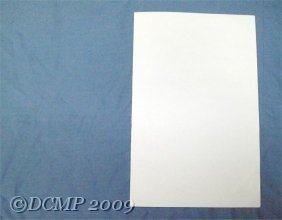 |
Fold in half, lenthwise (the 11" side will now
be 5.5"). |
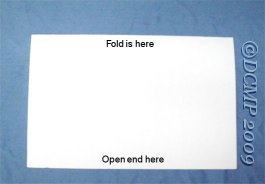 |
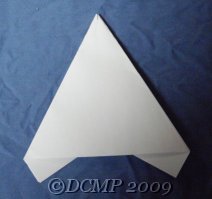
Turn paper around, so it appears as shown.
(Folded end is at the top, and the end where the two sides met is on the
bottom). |
 |
Now, get a protractor. If you do not have
one, take a look at the following pictures and gauge how the fold should
look. |
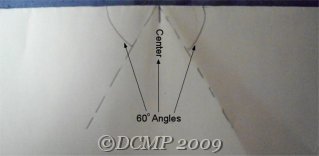 |
Draw lines so that the angles are 60 degrees.
|
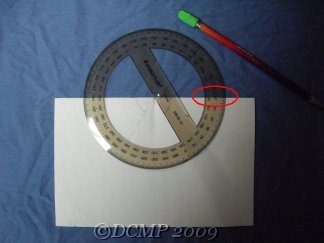 |
Here is a visual of the protractor being used.
For more pictures, see the protractor page. |
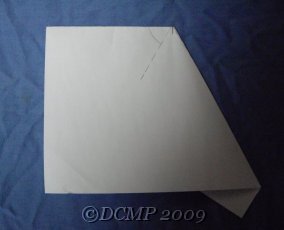 |
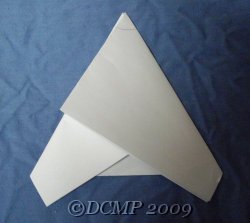
Fold the page along the lines you've drawn. |
|
 |
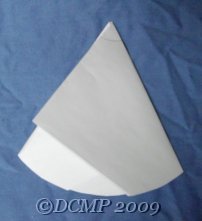
To the left and right are pictures showing both sides of the
paper, after the folds. |
 |
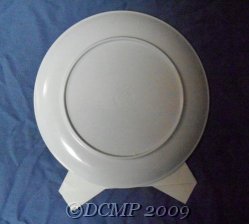 |
Turn page so folded sides are down, and place
plate as shown. The plate is being used to draw a nice arch. Any
plate that fits may be used. Draw line, using the plate as a template
for the arch. |
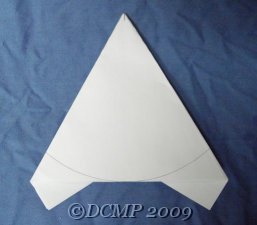 |
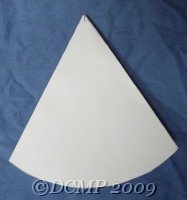
Your paper should look like this. Picture
shows line drawn. |
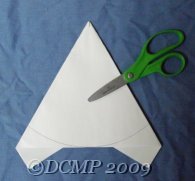 |
Use scissors to cut along the arch. |
|
 |
To the left and right are pictures showing both sides of the
paper, after the folds.. |
 |
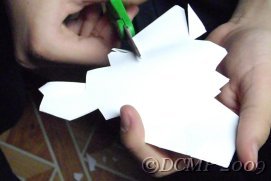 |
Cut out different shapes around the edges of the
paper. Cuts may be as large or as small as you like. Just have
fun! Note: Do not cut paper in half. |
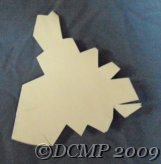 |
Picture shows paper after cuts were made. |
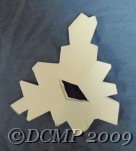 |
Paper was then folded in half (not shown) and
a hole was cut along the fold. This created the center hole you see. Be
careful. Depending on the paper you use, it may be thick and difficult
to cut through. |
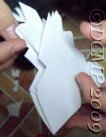 |
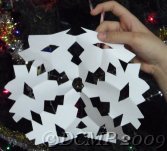
Carefully unfold your paper. |
|
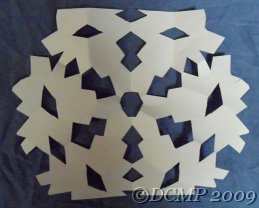 |
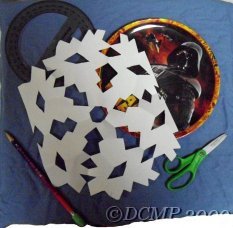
Voila! There you have it! A beautiful snowflake! |
 |
|
Sponsored Links:

Sponsored Links:
|
|
Now, go and have some fun! Experiment using different types and sizes
of paper! How about fabric, or other materials?
For another touch, try using glue and glitter, crayons, markers, and other
such things to color your snowflake! Out of glitter? Look around for
other objects to use. What about colored salt? Try some food coloring
and some salt. Just a drop should suffice.
Let your imagination guide you to all the fun you can have! Then,
display them on your tree, in your window, on your walls, etc. Have a
special one? Glue it on cardboard, or put it in a picture frame!
Enjoy!
All rights reserved A.P.P.L.E. Family & Homeschool Group
